
ScreenSoft Docs / Setup & Management / Installing ScreenSoft Player
Installing ScreenSoft Player
Installation procedure
- Connect the prepared installation USB drive, monitor, keyboard and mouse.
- In the boot menu or BIOS, select booting from the installation USB drive. The key and procedure depend on the miniPC model; follow the manufacturer's documentation.
- After booting the operating system from the installation USB drive, connect the computer to the internet (LAN or Wi-Fi). The connection is required to check updates for both Flasher and the installation ISO file.
- Launch Flasher from the desktop; it does not start automatically.

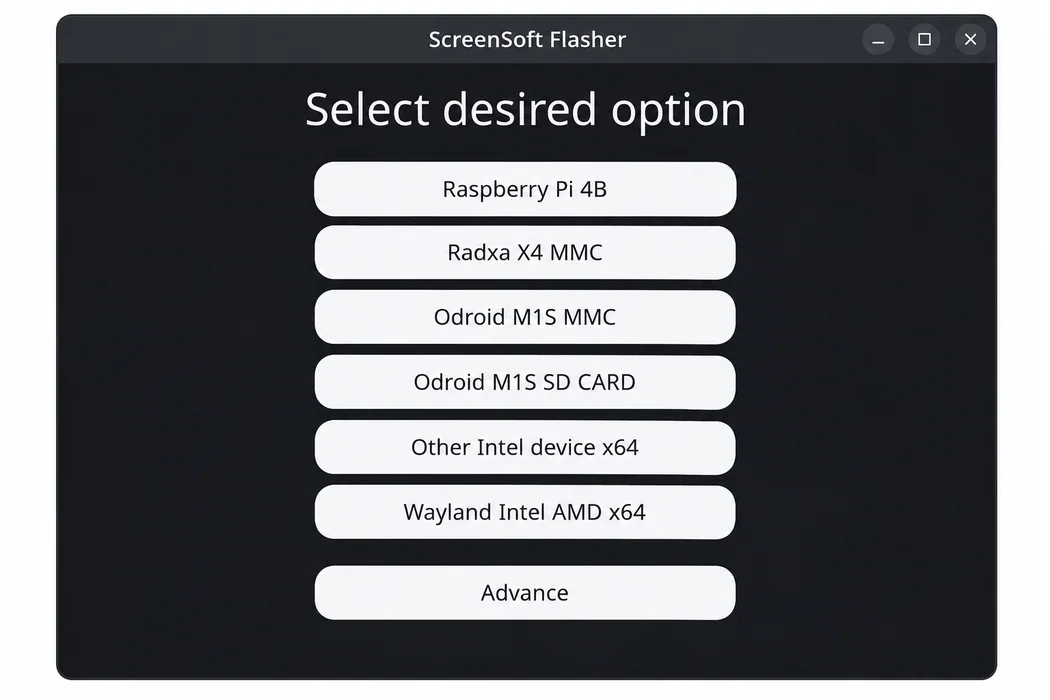
- For a standard Intel/AMD computer, select Wayland Intel AMD x64 in Flasher.
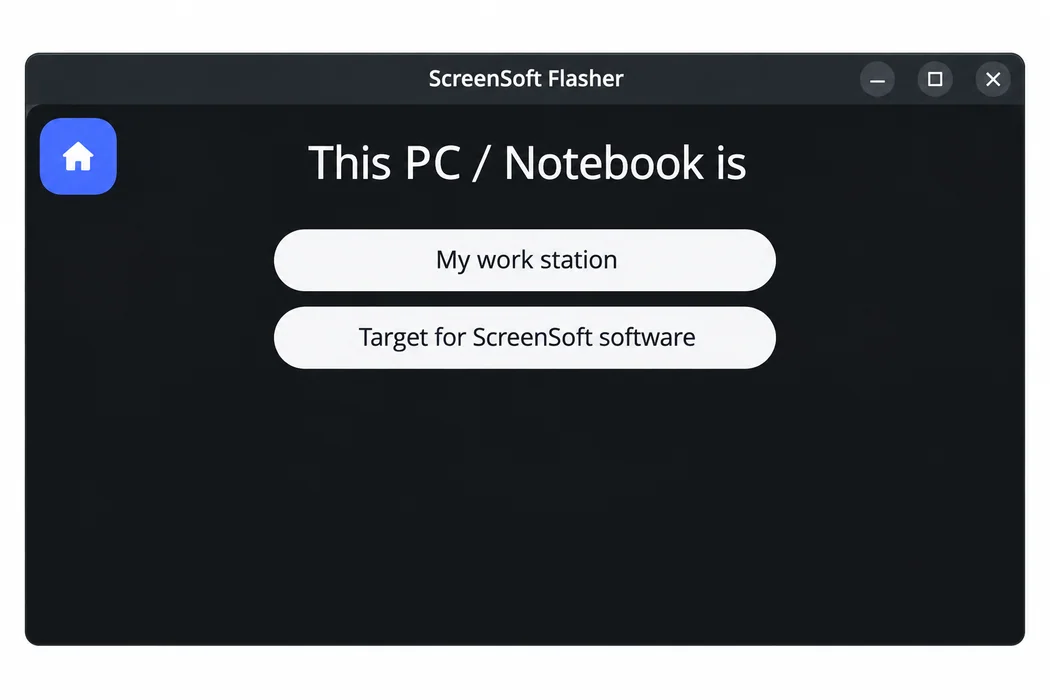
- Choose Target for ScreenSoft software.
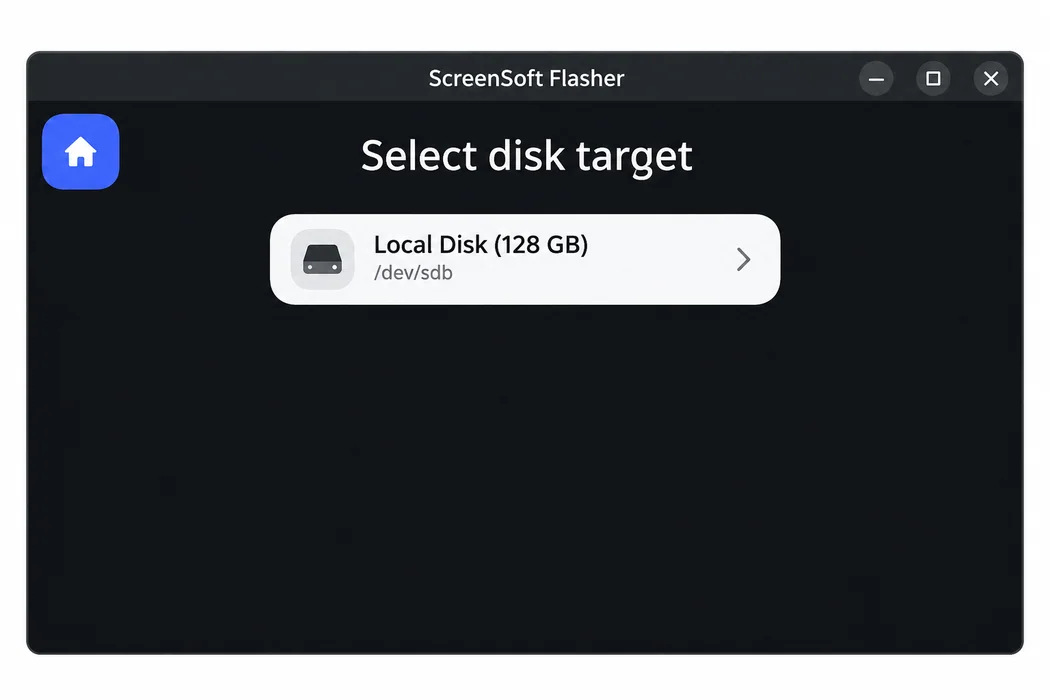
- On the Select disk target screen, select the computer's internal drive on which you are installing ScreenSoft Player. In a standard configuration, only one target drive is shown. Before confirming, check its capacity and identifier. Writing the image will erase the selected drive's contents.
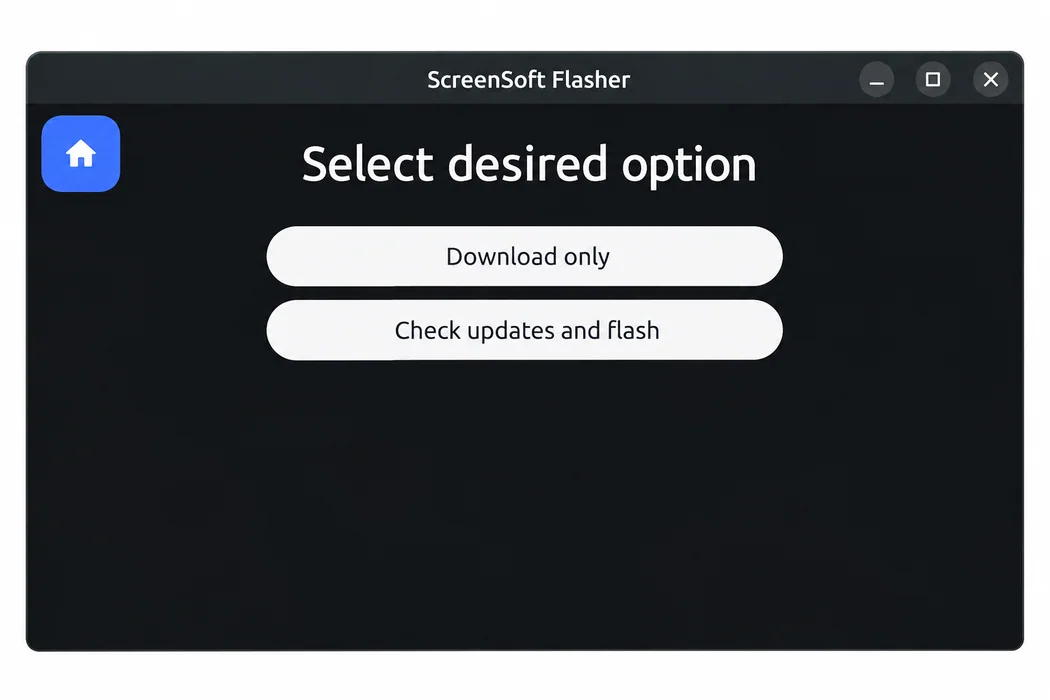
- Select Check updates and flash. This option checks for available updates to Flasher and the installation ISO file, then installs the system on the selected internal drive.
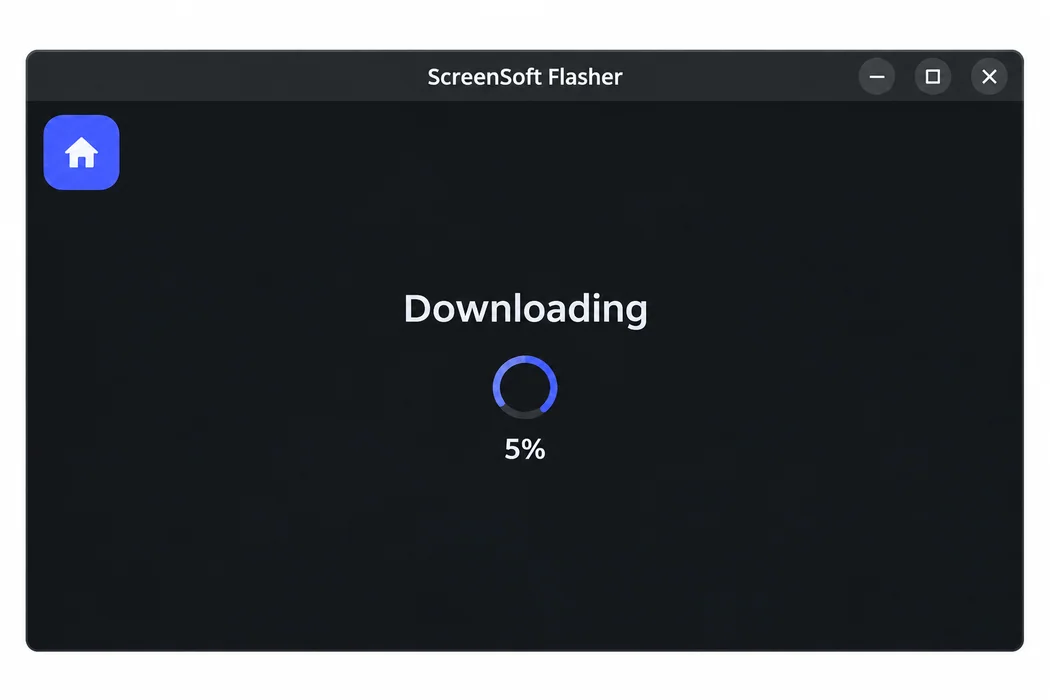
- Wait for the download and writing process to finish. Do not disconnect the drive during installation.
- ScreenSoft strongly recommends enabling automatic power-on after power is restored in the BIOS. Without this setting, the computer may remain off after a power outage and the Player will not start. After installation, you can choose to enter the BIOS directly. The procedure and option names vary by model. Example configuration: Automatic startup after a power outage – GMKtec NucBox G5
- Disconnect the installation USB drive before starting the installed system. When the player starts with a working internet connection, it displays a QR code, registration URL and registration code. If a LAN connection is unavailable, configure Wi-Fi in the service menu opened in the top-right corner of the screen. Follow the guide Connect a device to Wi-Fi. Without a working internet connection, the activation QR code, registration URL and registration code will not appear.
- Scan the QR code with a phone or open the displayed URL on a computer and follow the instructions. The user must have a ScreenSoft account, be signed in to it and have the appropriate device-registration permissions. This applies to both the QR code and the URL.
Didn't find what you were looking for?
Contact ScreenSoft support at support@screensoft.org
Contact ScreenSoft support at support@screensoft.org