
Connect a device to Wi-Fi
Wi-Fi is configured in the service menu directly on the ScreenSoft Player display. If you do not know how to open it, see Accessing the service menu →.
Standard Wi-Fi connection
1. Open the service menu
Open the service menu and select Wi-Fi.
2. Select a Wi-Fi network
A list of available networks appears. Select the Wi-Fi network you want to join.
If you cannot see your Wi-Fi network, for example after enabling a personal hotspot on your phone, wait a moment and press the button with two arrows forming a circle at the bottom right. This refreshes the list of available Wi-Fi networks. If needed, wait briefly and refresh again.
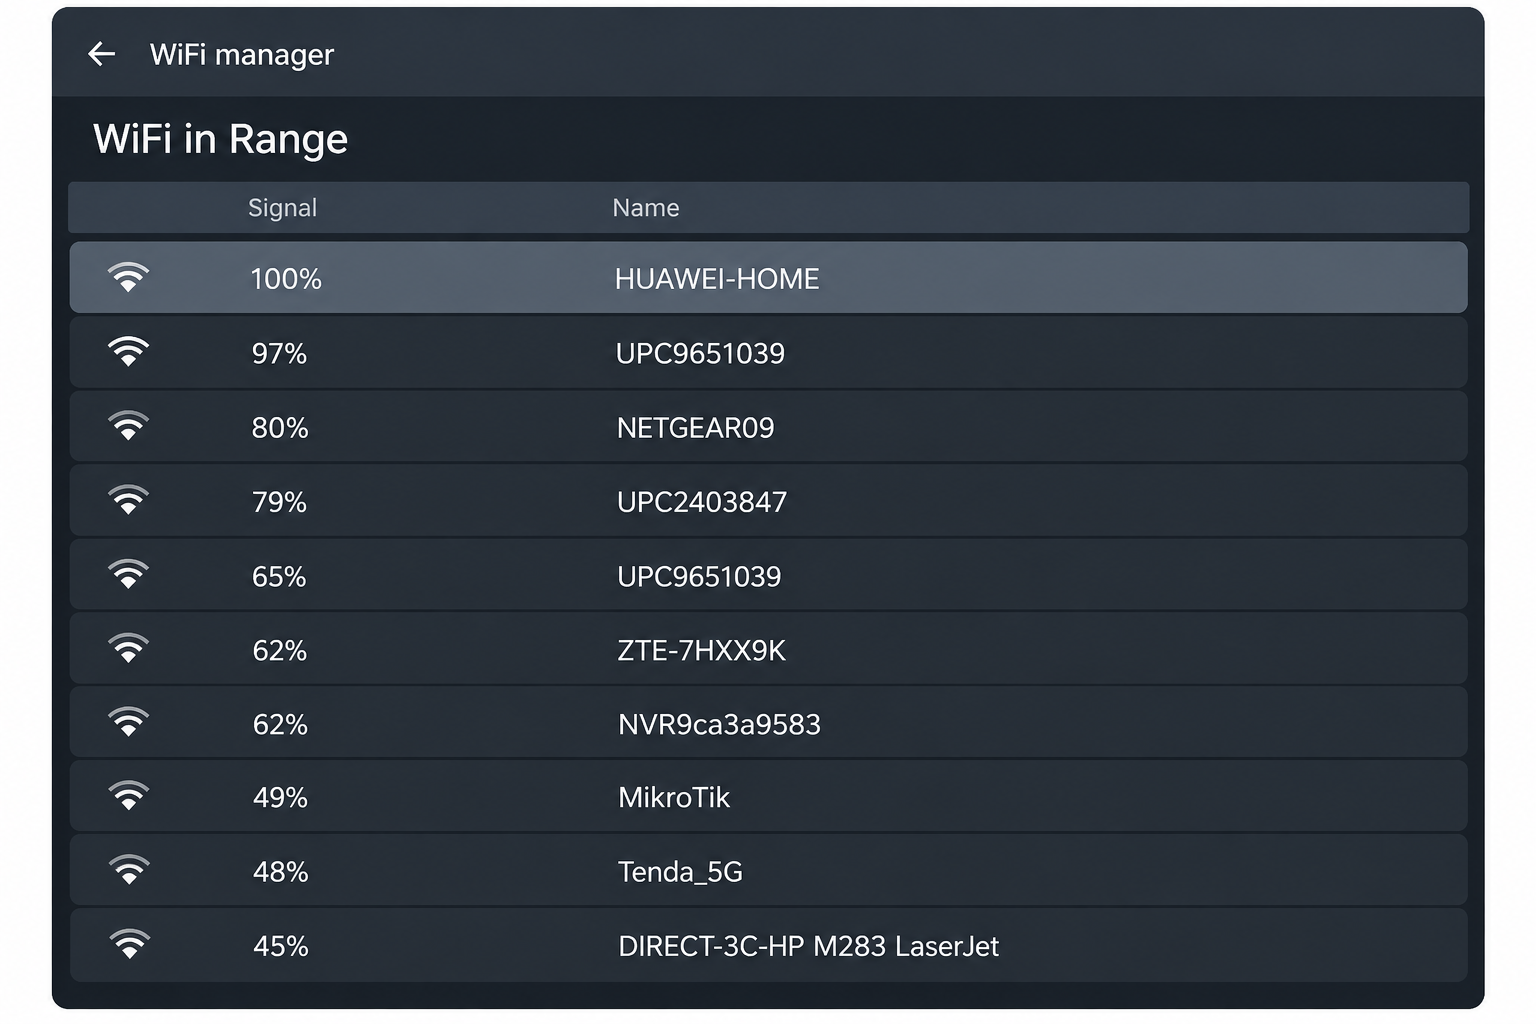
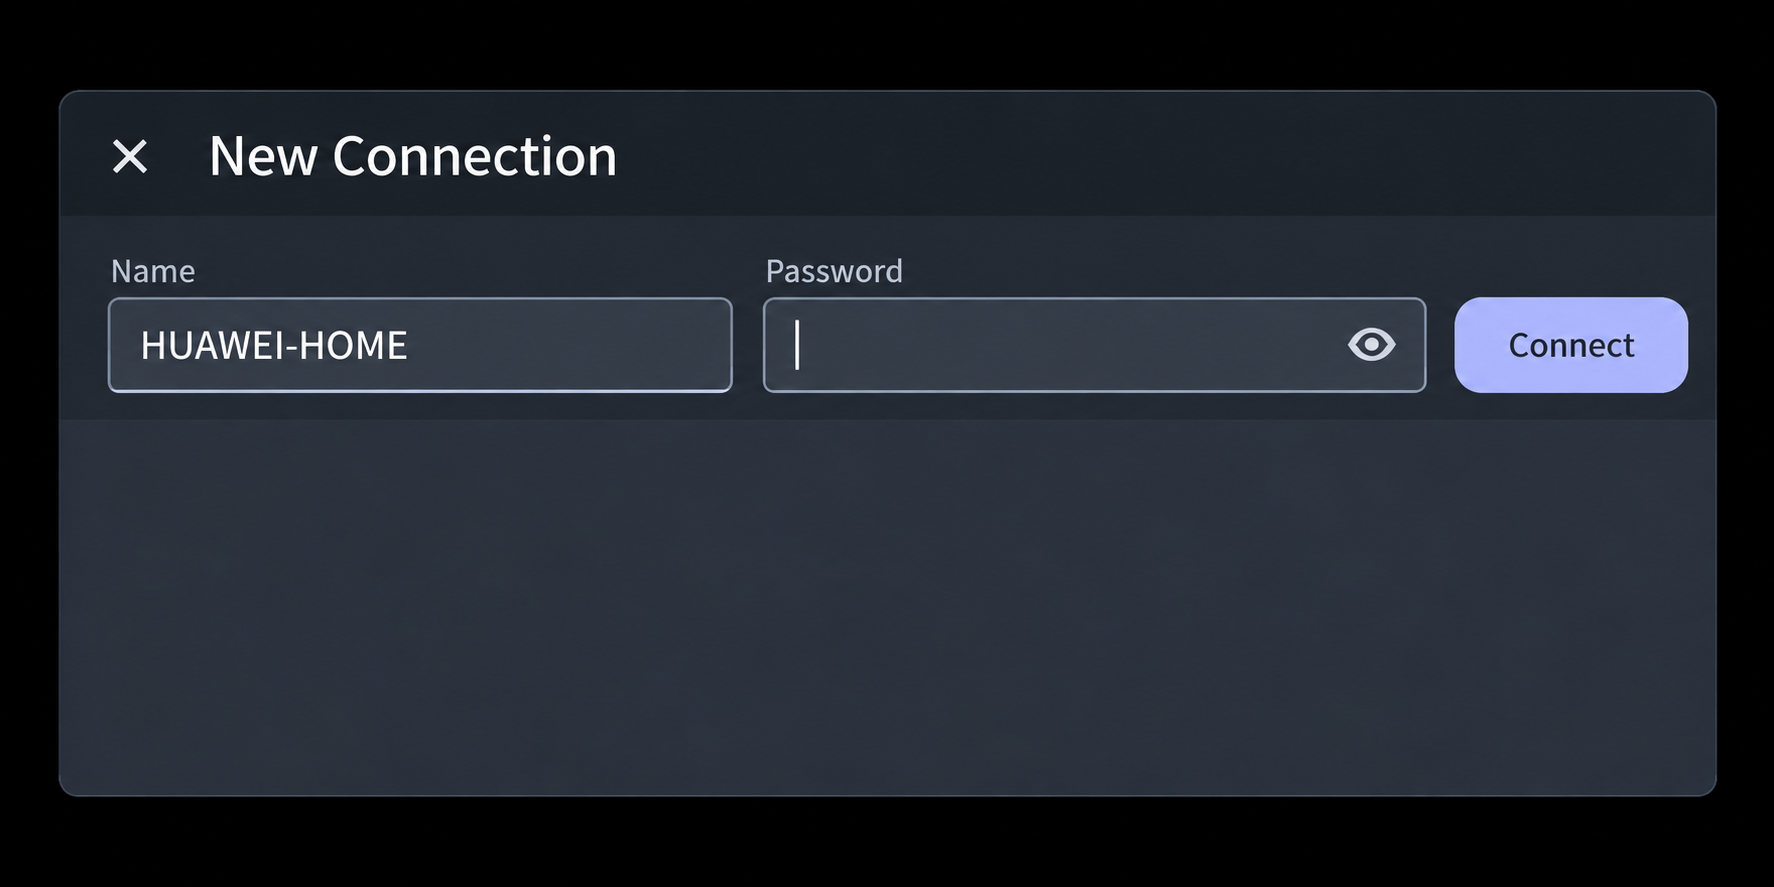
3. Password field and Connect button
The New Connection dialog opens with the selected network name. Enter the password in the Password field and press Connect. Use the eye icon to show the password if needed.
What if Wi-Fi does not connect?
If ScreenSoft WiFi Manager does not respond after pressing Connect, or the connection is not established, use one of the following two alternatives provided by Linux system tools.
Alternative route 1 – T button
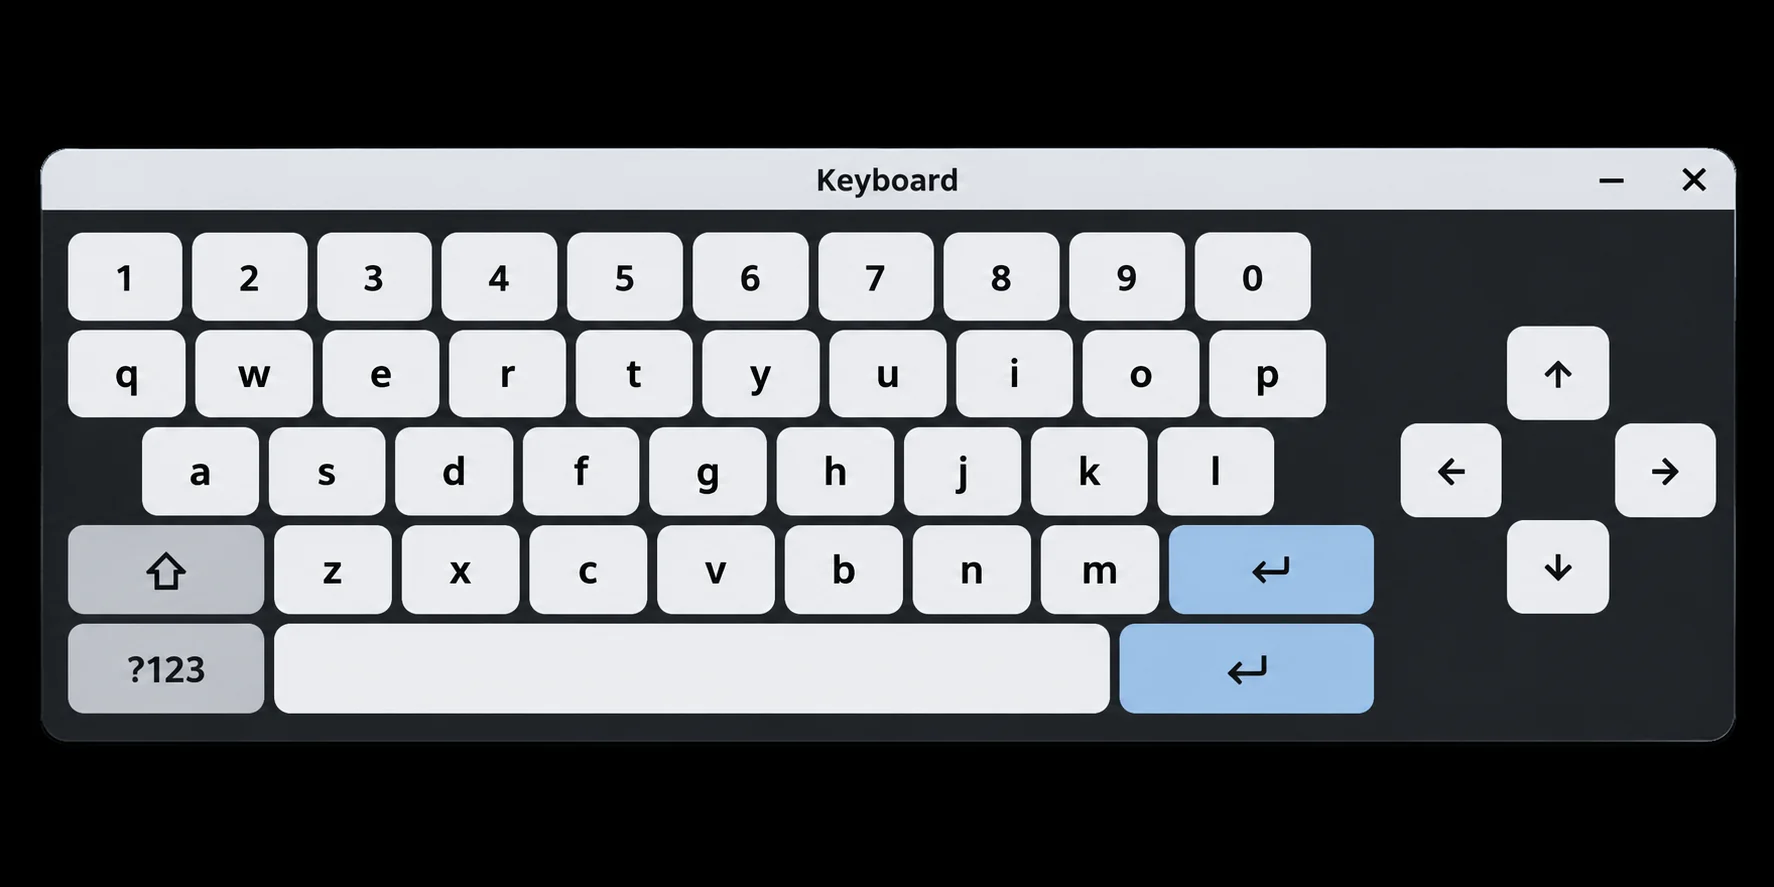
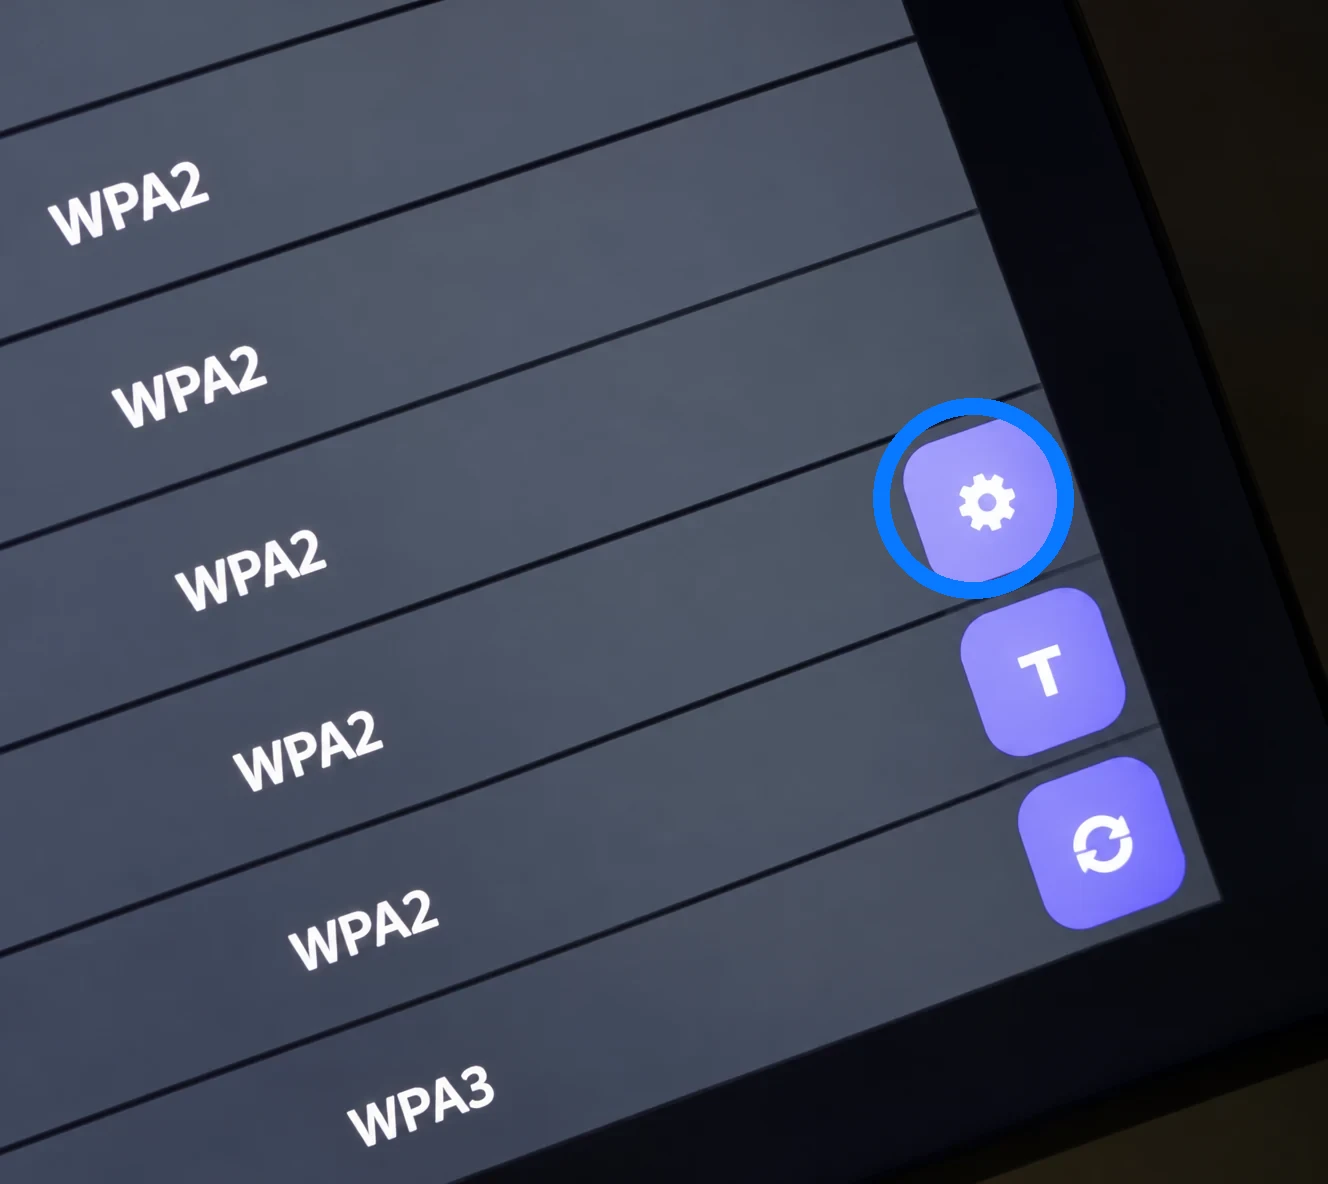
Open the service menu and select Wi-Fi. At the bottom right of the network list are three buttons: settings (gear), T, and refresh (two arrows forming a circle). Press T. NetworkManager TUI and the on-screen keyboard open automatically. No command needs to be entered.
Refresh (two arrows forming a circle) updates the list of available Wi-Fi networks.
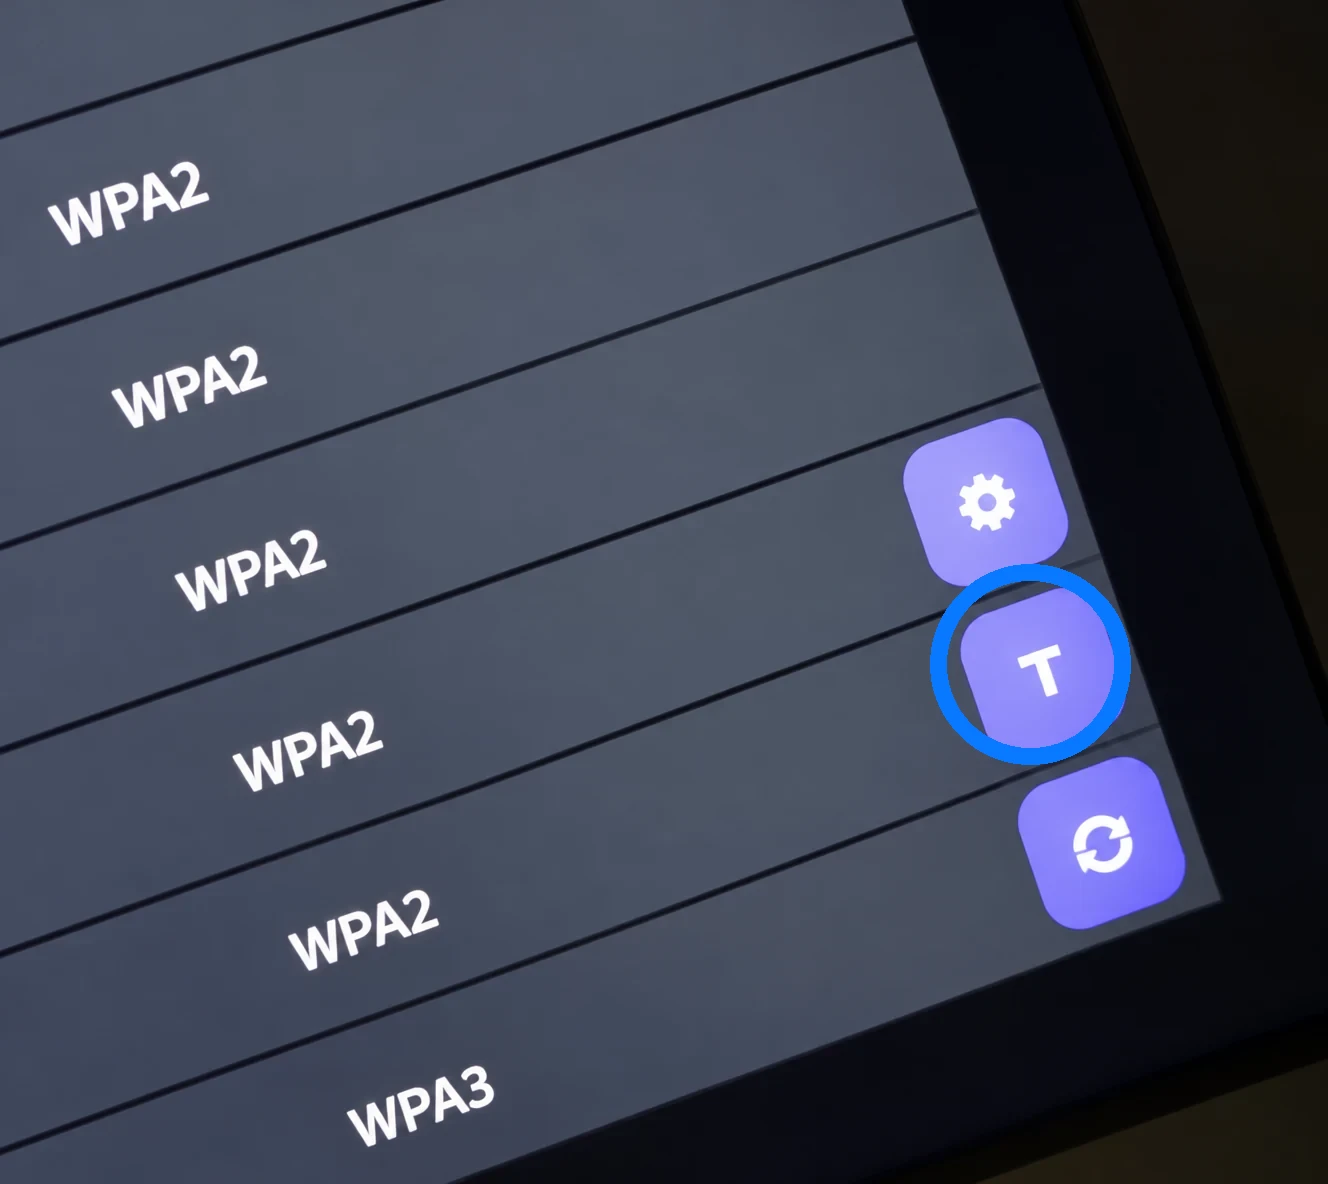
The first image highlights the T button. After pressing it, follow the steps below.
Important: NetworkManager TUI cannot be operated directly by touch or mouse. Use arrow keys on the on-screen or physical keyboard, Enter to confirm, and Backspace to go back where supported.
1. Open the interface
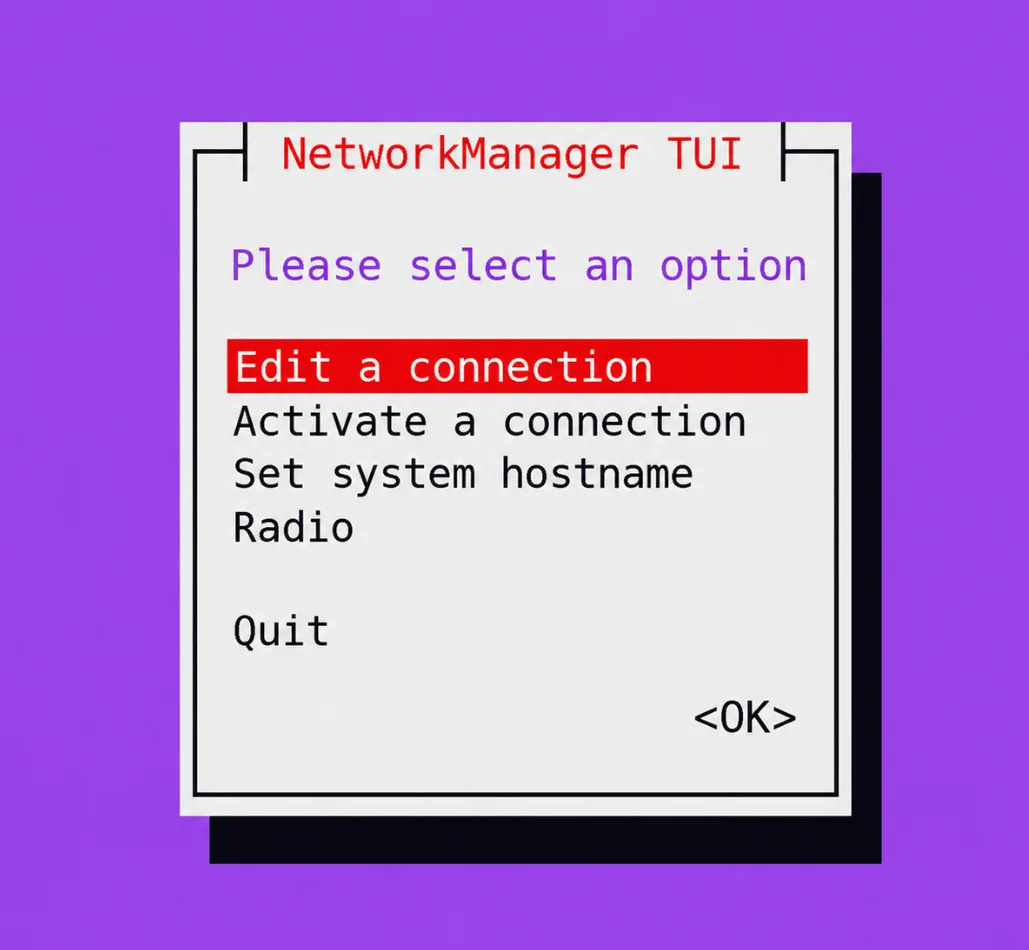
Open Wi-Fi from the service menu, then press T at the bottom right. NetworkManager TUI and the keyboard appear. Use the arrow keys to select “Activate a connection” and confirm with Enter.
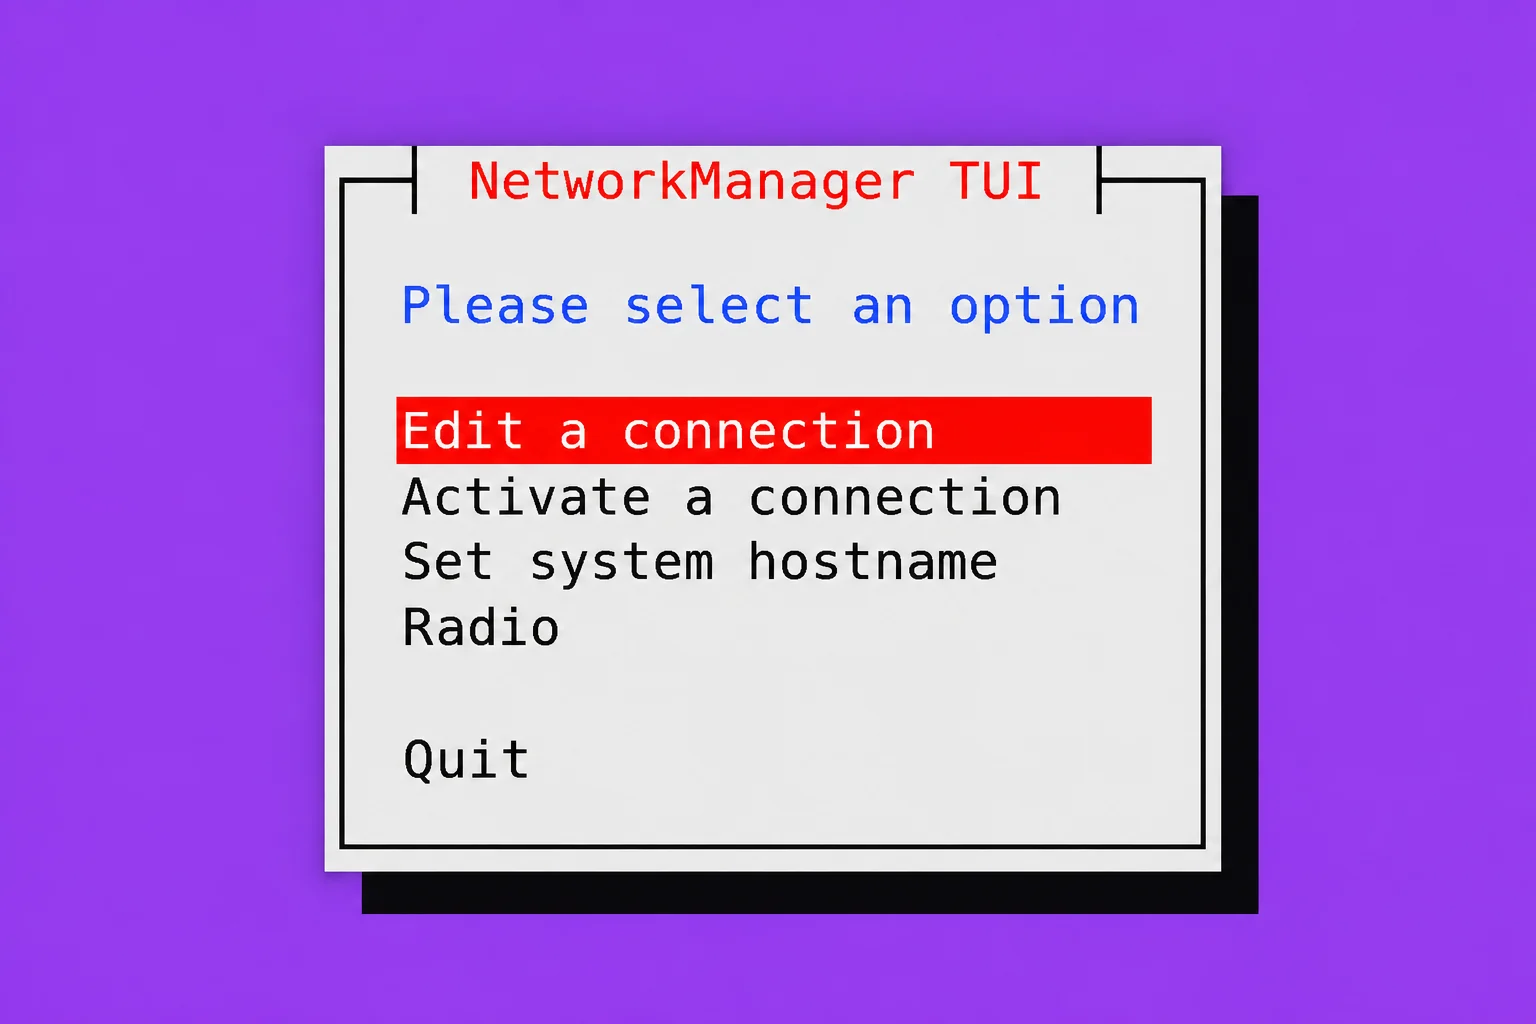
2. Choose a Wi-Fi network
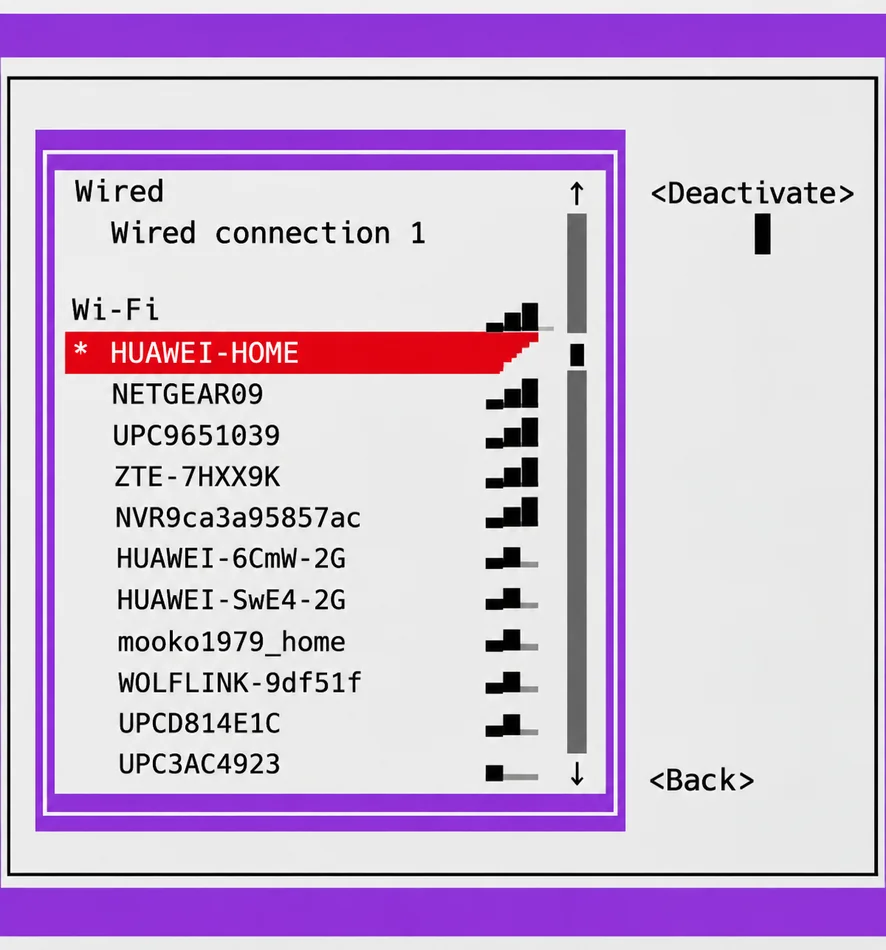
Use the arrow keys to select the Wi-Fi network and confirm activation. An asterisk (*) marks an active connection.
3. Connecting
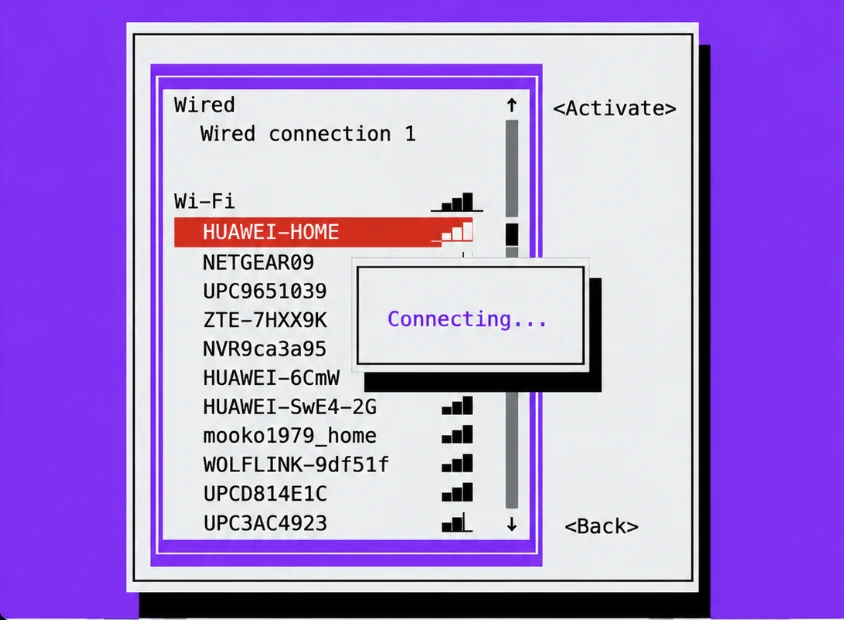
A “Connecting…” message may briefly appear while connecting.
4. Enter the password
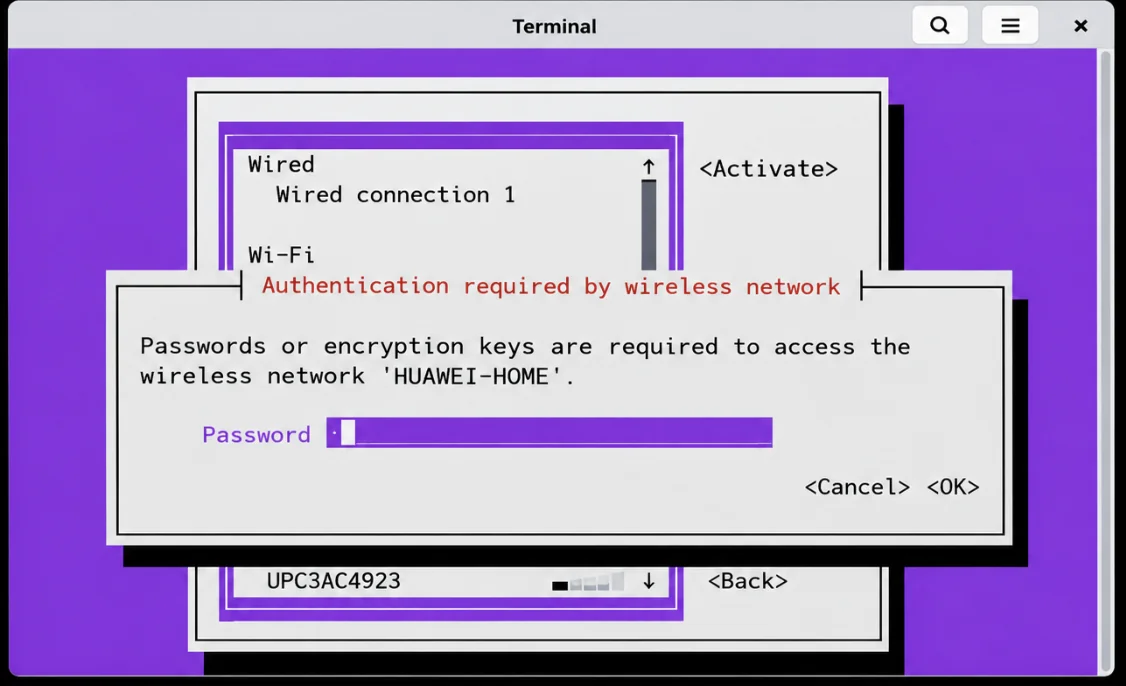
For a secured network, enter its password in the “Password” field, navigate to “OK”, and press Enter.
5. Manage saved connections (optional)
To change a saved password or other settings, choose “Edit a connection” in the main menu.
6. Choose a profile
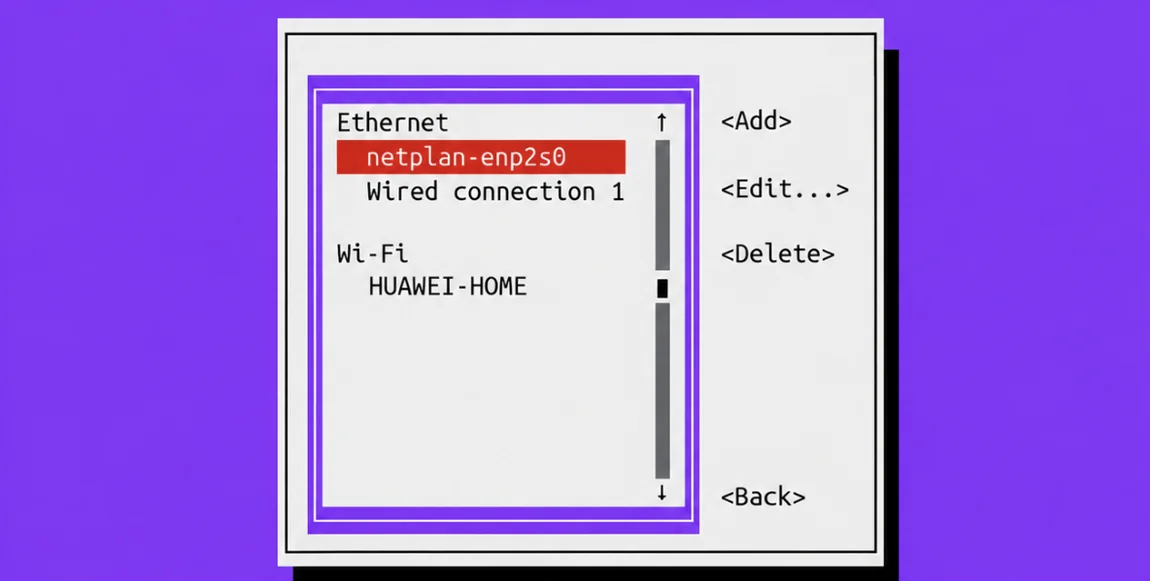
Select the Wi-Fi profile from the saved connections list. “Edit…” changes settings; “Add” creates a connection; “Delete” removes a saved profile.
7. Delete a saved network
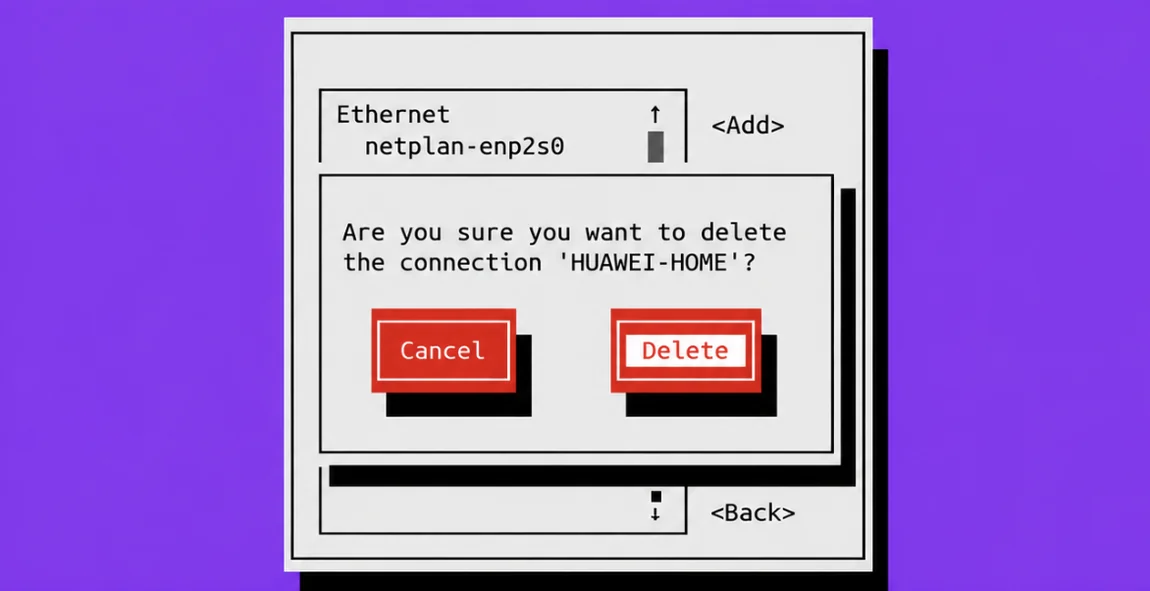
A “Cancel” / “Delete” confirmation appears before removal. Removing a profile does not disable Wi-Fi.
Finish. After connecting successfully, close the system window and on-screen keyboard, then close the service menu. In the administration interface, check that the device is communicating with the server and is online. If it remains offline, follow the guide for a device connected to Wi‑Fi but offline in ScreenSoft. Detailed guide →
Alternative route 2 – Linux settings (gear icon)
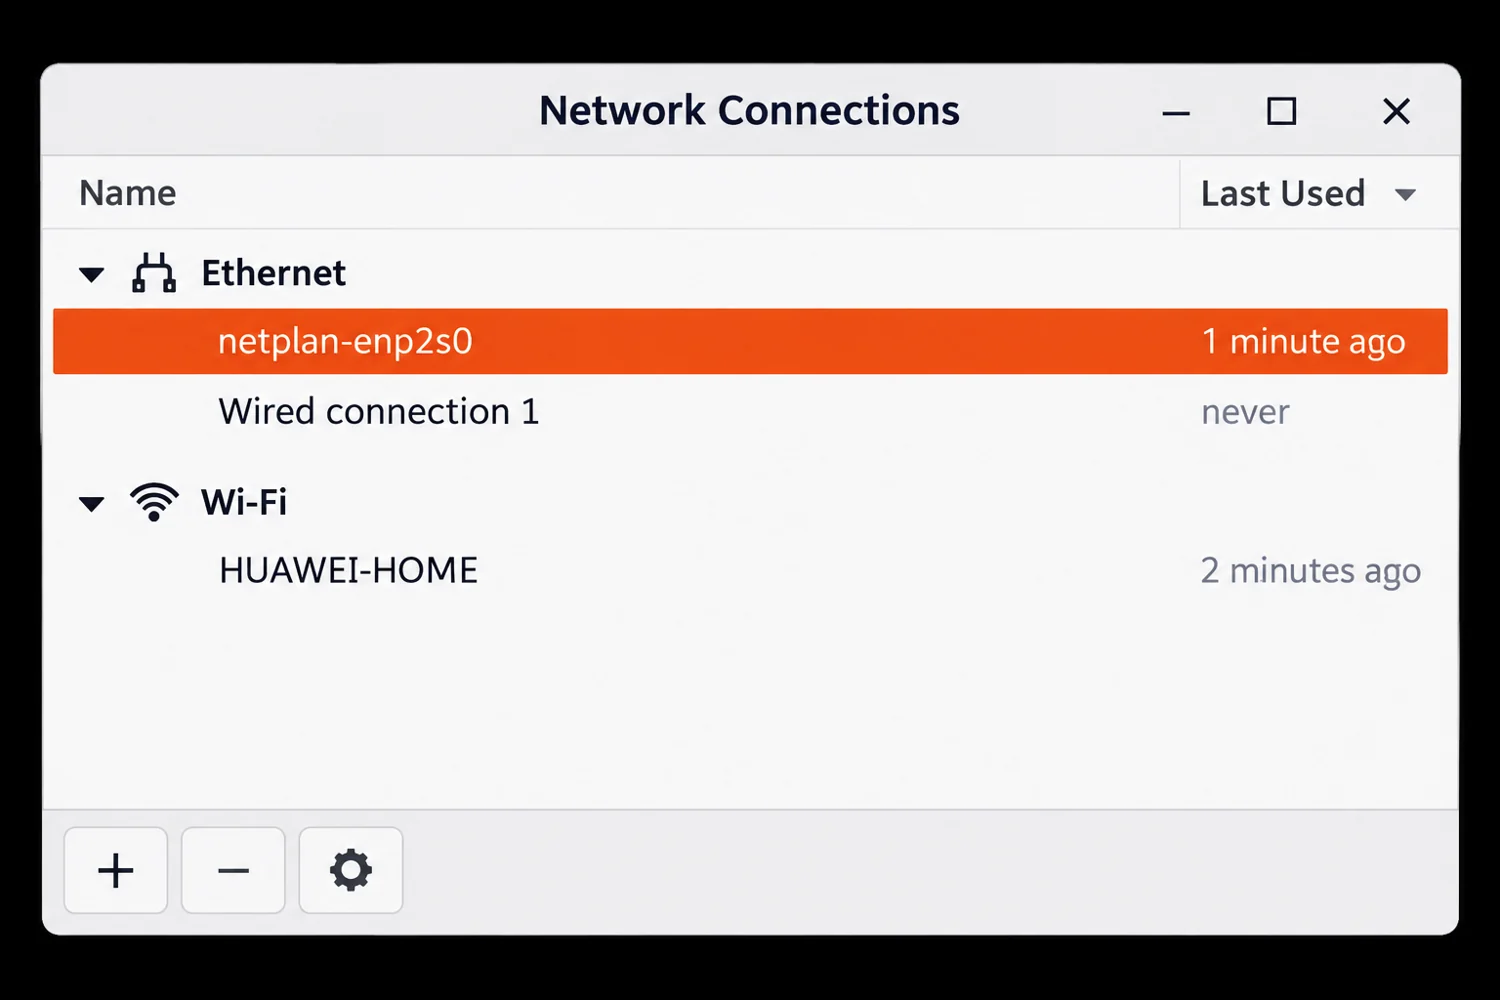
In the Wi-Fi screen, press the gear icon (highlighted in blue). This opens the Linux Network Connections window for managing network profiles.
Under Wi-Fi, select the relevant connection. Edit its settings and enter the password if needed. On some Linux versions, choosing a newly available Wi-Fi network happens in a separate system Wi-Fi menu; Network Connections mainly manages saved profiles.
Other connection types (optional)
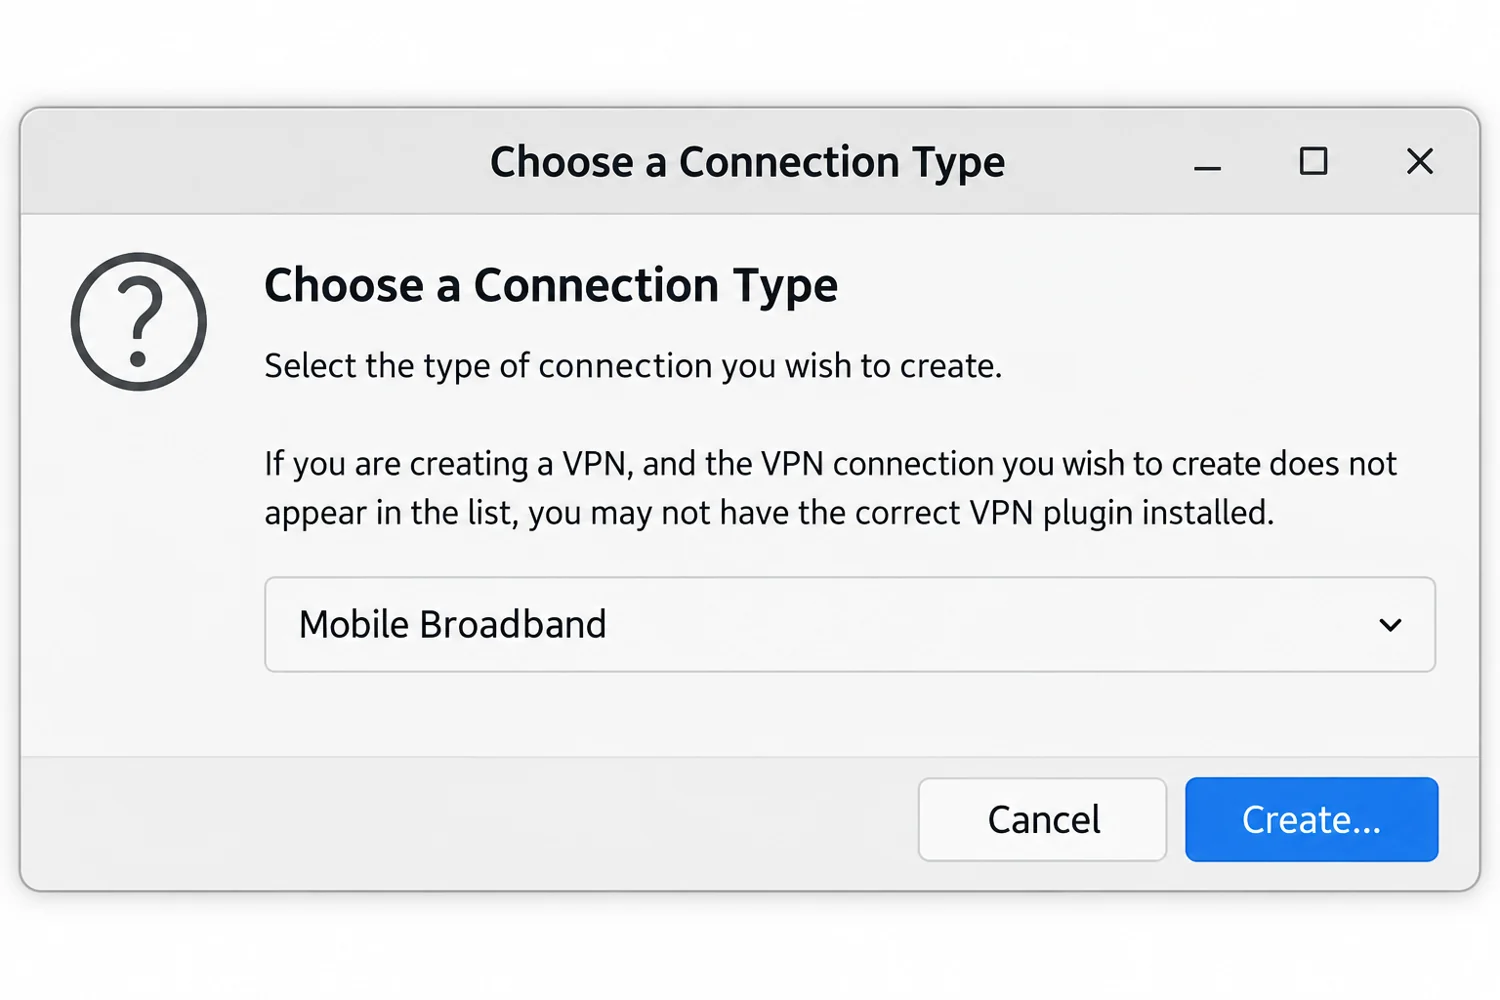
The + button creates a new network profile. Depending on installed drivers and plugins, this can include mobile broadband via a compatible USB modem or a VPN. The + button is not needed for normal connection to an existing Wi-Fi network.
Contact ScreenSoft support at support@screensoft.org